These are d steps to install XP...
You will see a 'Press any key to boot from CD' message.

[If not, Change Booting Device by pressing the Del, F1, F2 or ESC key dependant upon your BIOS. Set your BIOS so that the first boot device is your CD/DVD drive and insert the Windows XP CD in the drive ready. Press 'Save Configuration' after setting up your BIOS and the system should now boot from the Windows XP CD.]
Step 2 : Just press 'Enter' to proceed with installation of Windows XP.
You will then be asked to 'Press F6 if you need to install a third party SCSI or RAID driver'. Just ignore this in normal case.
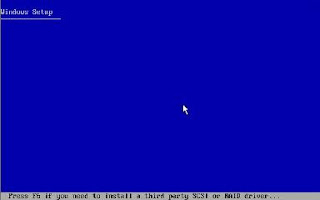
Step 3 : After all of the files and drivers are loaded the Windows 'Welcome to Setup' screen will appear. Press 'Enter' to continue with the Windows XP setup.
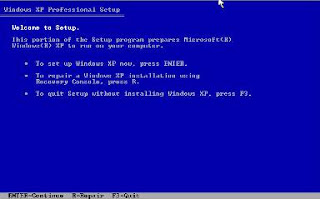
Step 4 : You will now be asked to accept the license agreement, if you agree with the terms - press 'F8' to do so.
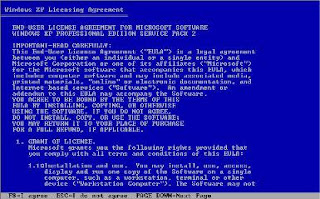
Step 5 : Now a screen for install Windows XP on your Hard disk drive will appear. As we have a new hard drive you will see that the drive is listed as 'unpartitioned'
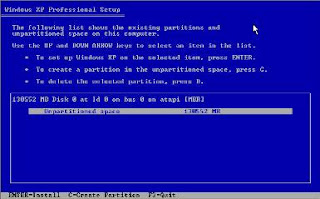
Step 6 : We can a create new partition for Windows to be installed by pressing the 'C' key.
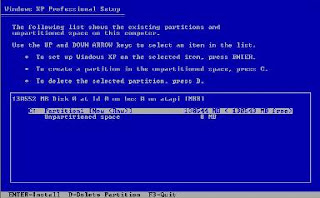
And then select your drive partition (C: - Which you have created now.,) and press 'Enter' to install Windows XP on this drive.
Step 7 : Windows will now inform you that your partition requires formatting.
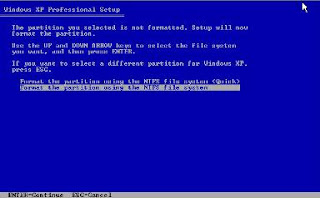
Windows XP works best on an NTFS file system so that you should select this and press 'Enter' again. I recommend you don't choose 'quick option' as this bypasses important disk integrity checks.
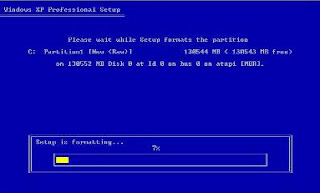
Step 8 : You should now see a screen of 'Set up is Formatting' along with a percentage status bar.
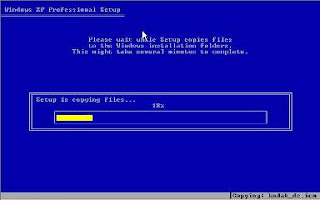
Step 9 : After Windows XP has finished formatting your drive, set up will begin copying files to your hard drive.
Step 10 : Once this is completed it will reboot automatically and present you with the following screen indicating that setup is initializing your Windows XP configuration.
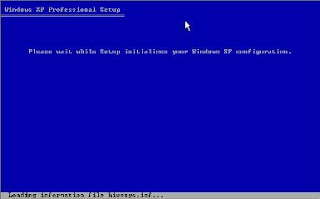
This will all take some more time to finish. Now it will eventually perform a restart.
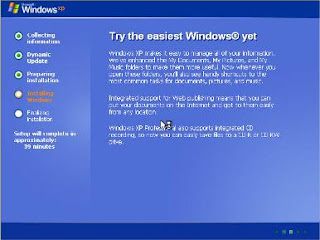
Step 11 : Then Windows will inform you that it is 'Collecting information', performing a 'Dynamic update' and 'Preparing installation'. And simultaneously telling you all about the new features you will discover with your operating system.
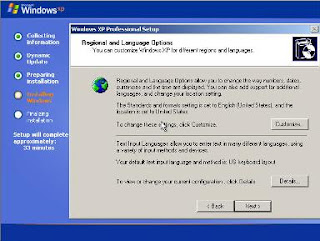
Step 12 : When you are Promoted to confirm 'Regional and Language Options', Select Customize and change your input language, keyboard layout, numbers, dates, currency, etc. Click on 'Next' when you have finished.
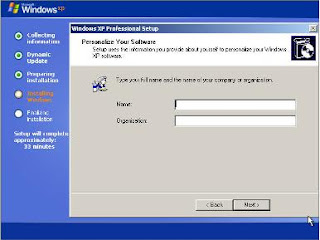
Step 13 : Following this you are invited to type in your name and organization. You must enter a name and organization is an optional.
Step 14 : Now you will need to enter product-key which you should find on your CD Back.
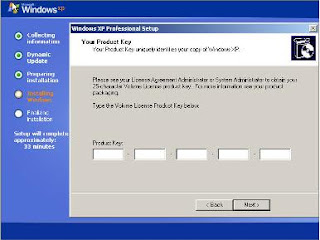
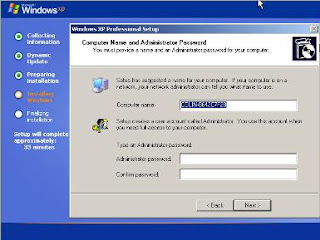
Step 15 : A name will now be required for your computer so that it can be identified on your network. This must be unique. And you can enter the password of the administrator.(If you need.!)
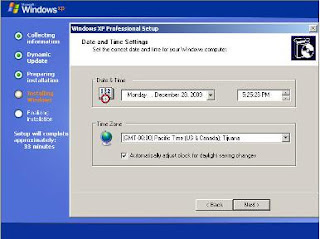
Step 16 : Next configure the date and time and tick the 'Automatically adjust clock for daylight saving changes'. Click the 'Next' button to continue.
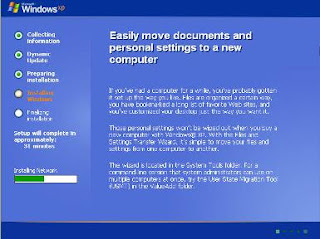
Step 17 : Windows XP will now continue on with preparing the installation and you need to wait bit longer.
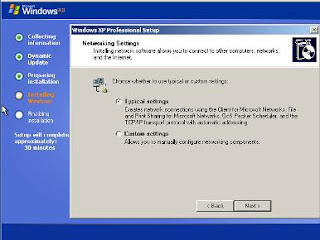
Step 18 : Finally you will be asked to select your 'Networking Settings'. For a standalone computer you should select the 'Typical settings' and then click the 'Next' button.
Step 19 : Just select 'No, this computer is not on a network, or is on a network without a domain. Make this computer a member of the following workgroup'. And press Next.
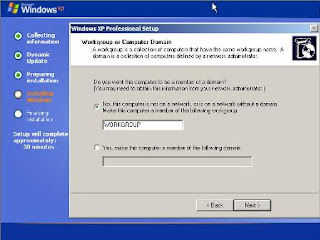
(You are able change the network setting whenever you wish..!)
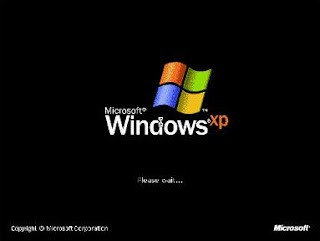
Step 20 : Windows will carry on with its own installation setting. After completing that your PC will restart and you will see the Windows XP splash screen.
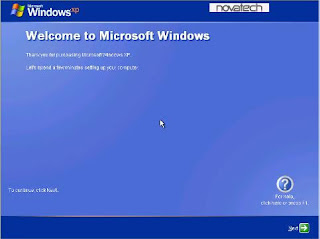
Step 21 : Next you will see the 'Welcome to Microsoft Windows' screen – click 'Next' to continue.
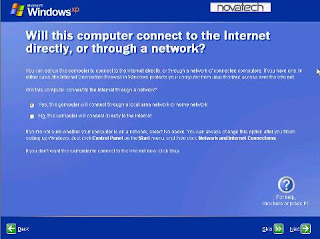
Step 22 : Windows checks your internet connectivity and then asks you if the computer will connect to the internet through a network? If you have a network that this computer will connect to you should select 'Yes' but if you are connecting directly to the internet through a modem then you select 'No'. Click 'Next' to continue.
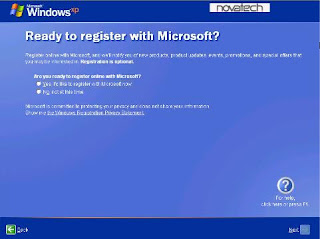
Step 23 :You will now be given the opportunity to register and activate your Windows XP installation. Most of you should select yes as the easiest option. Again, click 'Next' to continue.
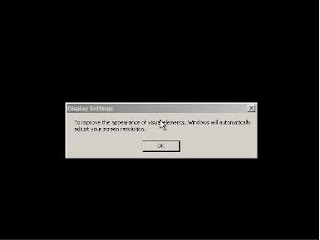
Step 24 : Set up should now finalize the installation and reboot again. Upon reboot Windows will ask if you would like to improve the appearance by adjusting your screen resolution, click 'Ok'.
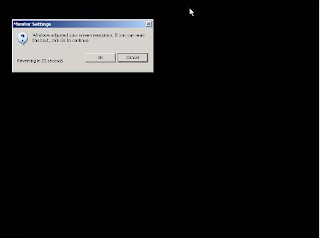
Step 25 : Click 'Ok' again to accept the screen resolution adjustment.
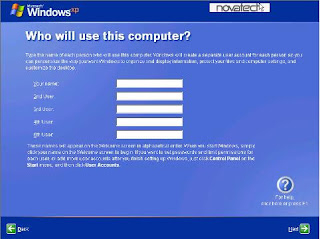
Step 26 : You will now be asked to enter the user names of your computer. Enter the details as required and click 'Next' to continue.
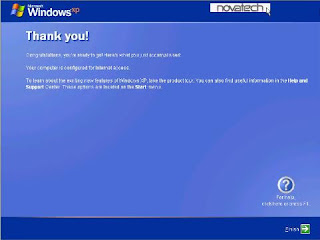
Step 27 : Windows will now 'Thank you!' and you should click 'Finish' to complete the installation.
Step 28 : A 'Welcome' screen will appear briefly…..

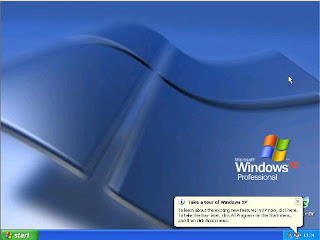
Step 29 : Then you should now see the default Windows XP desktop screen.
Step 30 : That s all. U did t.. :)


0 comments:
Post a Comment